Note: All words in red or that have a hyperlink are important.
Most raster based programs have similar gui interfaces with similar toolsets and functions. Each one contains certains advantages and disadvantages over the other. This tutorial will explain some of these similarities. The many (4+) programs used as examples will be freeware but all of these programs share similarities in gui to expensive counterparts used by professionals.
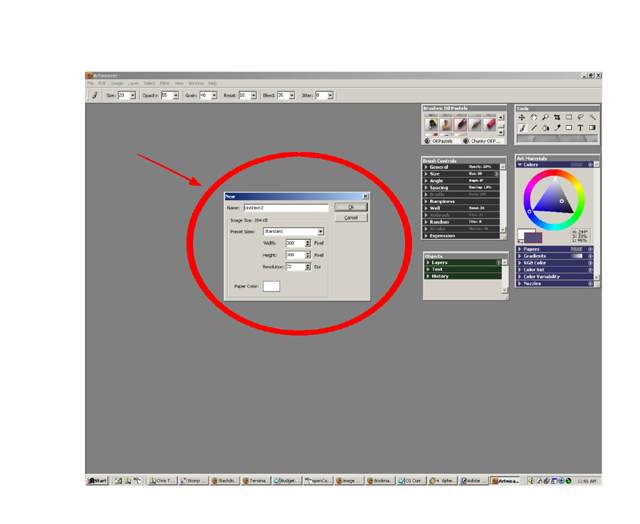
All computers have what is called resolution. This is not only a monitor setting but the image can be given dimensions(in pixels, inches, cm, etc...) and resolution. Shamelessly taken from Whatis.com: " In computers, resolution is the number of pixels (individual points of color) contained on a display monitor, expressed in terms of the number of pixels on the horizontal axis and the number on the vertical axis." Thus a 800x600 resolution on a monitor would be 800 pixel width by a 600 pixel height on a monitor. In general the higher the resolution the more sharp the image will be.
DPI, dots per inch, is a print setting for images determining how many dots will be printed per inch on paper. It is also used with resolution. 72 DPI is a standard web resolution and 300 DPI is a standard print resolution.
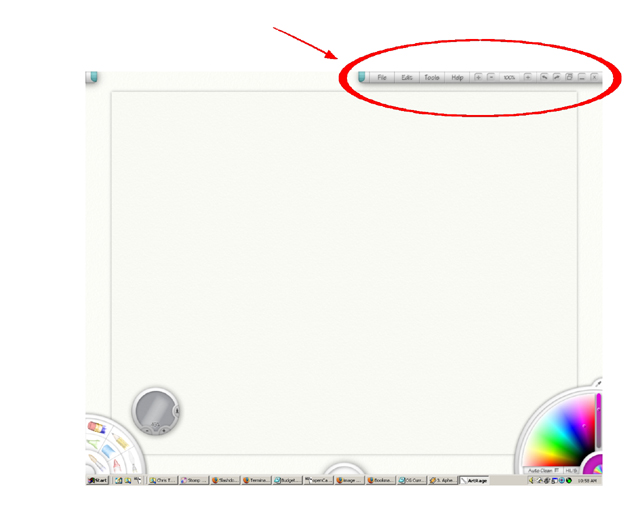
Most programs have a menu bar. It is usually located on the top of the program window. Some of the options available are File, Edit, View, Window, and Help. Each one of these options offers such things as Save, Open, Cut, Paste, etc...
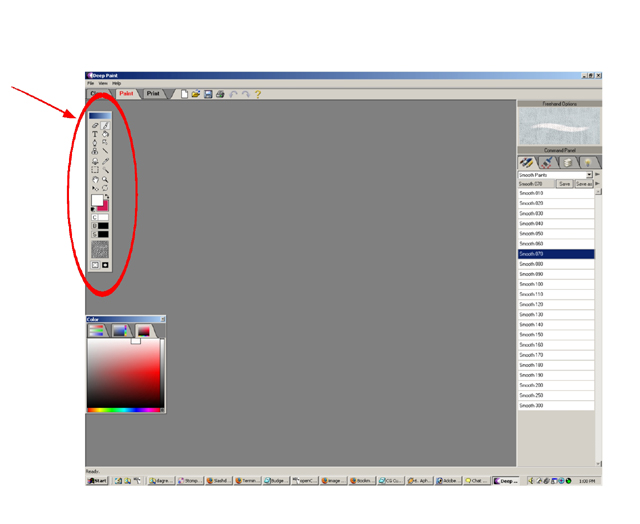
Another part of the program is the toolbar. The toolbar offers different tools to be used within the program. Some common tools are the Move tool. Usually denoted with a hand or a cross with arrows on the end. This allows you to move the view of the artwork without actually moving it. Another common tool is the zoom tool usually presented as a magnifying glass. This tool allows the image to be viewed very close up or far away. The plus in the magnifying glass denotes zooming in while the minus denotes zooming out. An eyedropper symbol in the toolbar is for color picking. By moving this tool over color of a certain area in the image will allow the color in the palette to be picked exactly to that of the color in the image. Selection tool as the name implies allows you to select a region of an image cut it out, copy it, and/or paste it. Selection tools can come in various forms. Some common symbols are the lasso tool which allows you to draw a shape around the area that should be cut. Magic wand tool selects areas based on the range of values in an image. Many times certain shapes such as circle/elipse and square/rectangle selection tools are available.
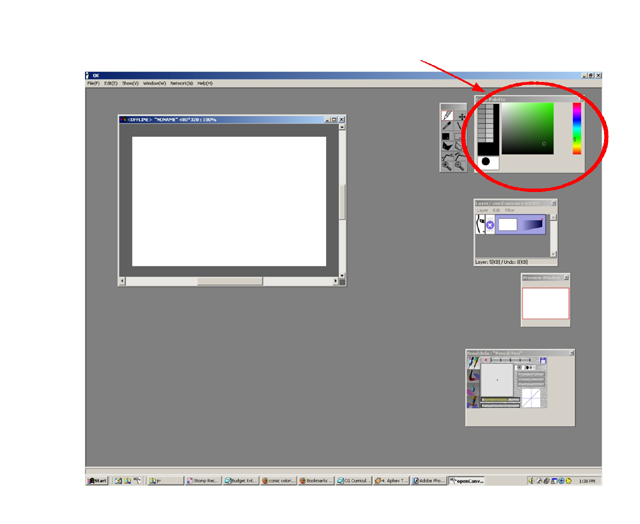
The palette of a program will allow you to select a specific color. Usually it has the full gamet of color as well as tints and shades of each color.

Most programs will have large selection of brushes. Brushes often times imitate real life media such as oil paint, pencil, pastel, etc..

No matter what program you use there will be something that allows you to change the size of the brush(sometimes many more options).
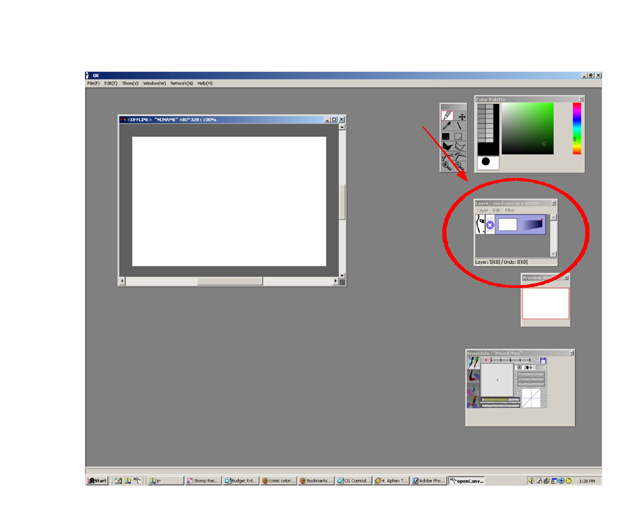
Another area of the program will be the layers area. This is a part of the program where you can have multiple pictures/text/drawings/color on top of each other. By putting an image on a layer you can draw on that image without effecting the image on the bottom layer. Advanced users can take advantage of the opacity of the layers. By changing the opacity(or transparency) of the layer many complex effects and looks can be accomplished.
No program is complete without a undo/redo feature. Usually under the Edit category of the menu bar, undo allows you to undo the last action performed in the program. For example lets say you draw a line over a face you don't like you can undo the line and return to the original look before the line was drawn. Many programs have multiple undo's and redo's that go back and forward many steps.
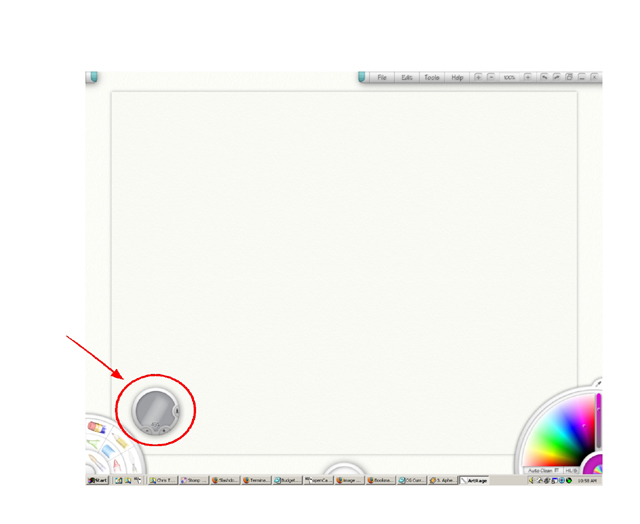
Two basic icons used in many programs is the new icon usually shown as a piece of paper with the the left corner folded over. The new icon allows you to make a new layer, new gradient, etc... depending on what dialog box the new icon is a part of. The trash icon shown as a trashcan. By moving layers, gradients, etc... to the trash icon the item will be deleted.
By understanding these basic commonalities on raster programs(and many programs for that matter) you should be able to pick up a new program and understand it fairly easily. Have fun playing!